How to create a new database and manage it in cpanel and PhpMyAdmin

We assume you are already signed in to cpanel, or please take this link to login in CPanel
In c panel databases menu select the MYSQL databases

In MYSQL database here we create a new database type any name click on “create database”

Database can be created successfully

In MYSQL database here enter our user name , password and click on ‘create user’ button
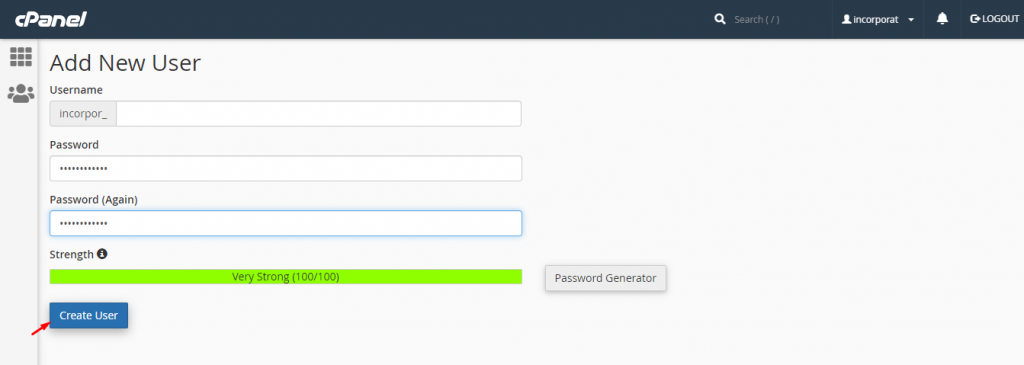
User name can be successfully created in MYSQL database
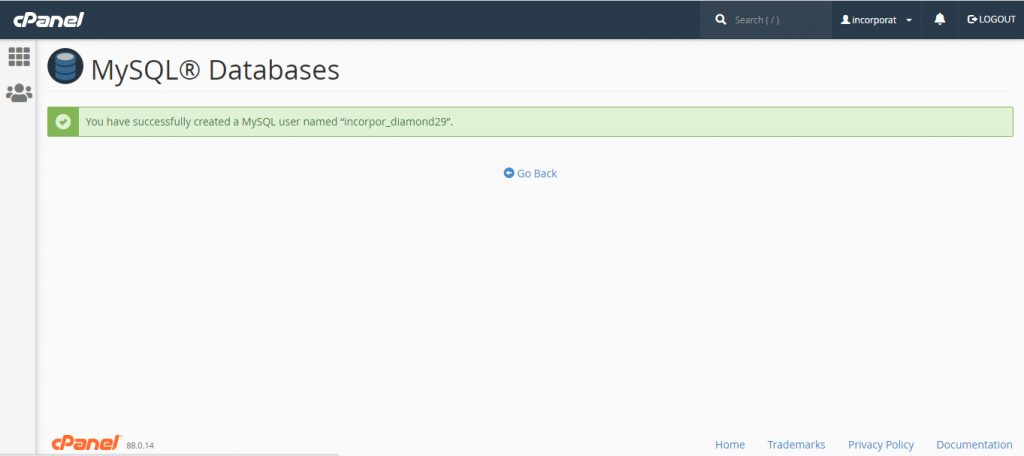
In MYSQL database users has been created successfully

In MYSQL database add user to database, here we select our created user, database and click on “Add” button

In MYSQL database select the all privileged button and click on make changes

In MYSQL database here have our database and users has been created successfully

In c panel databases menu select the PhpMyAdmin

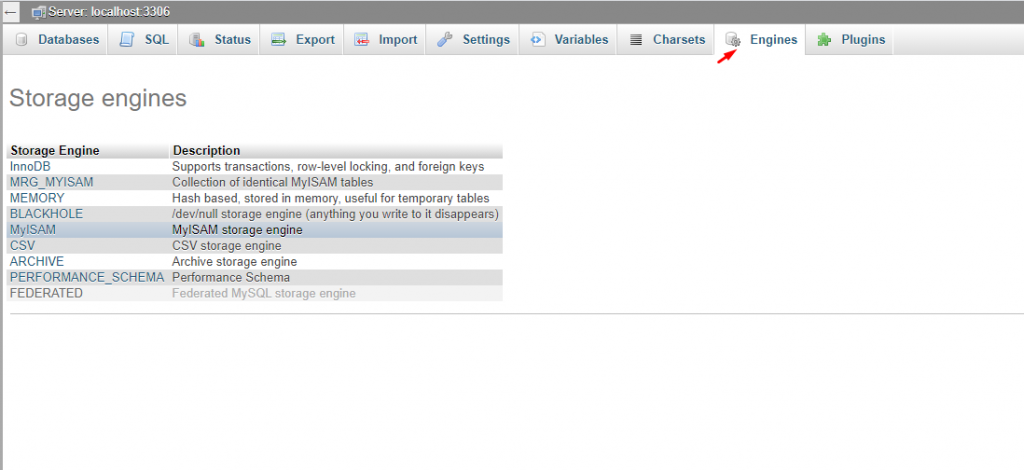
In phpmyadmin have database,status,import,export and settings etc…
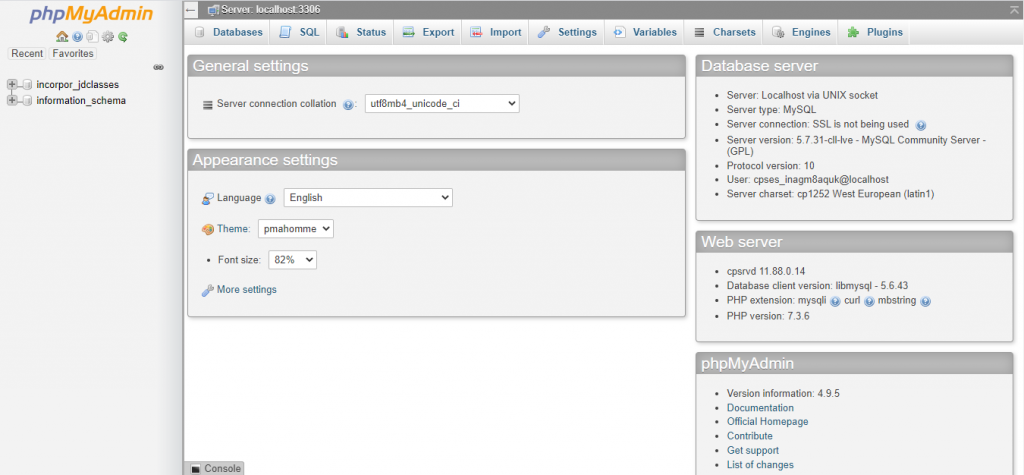
In phpMyAdmin databases click on the Databases statistics

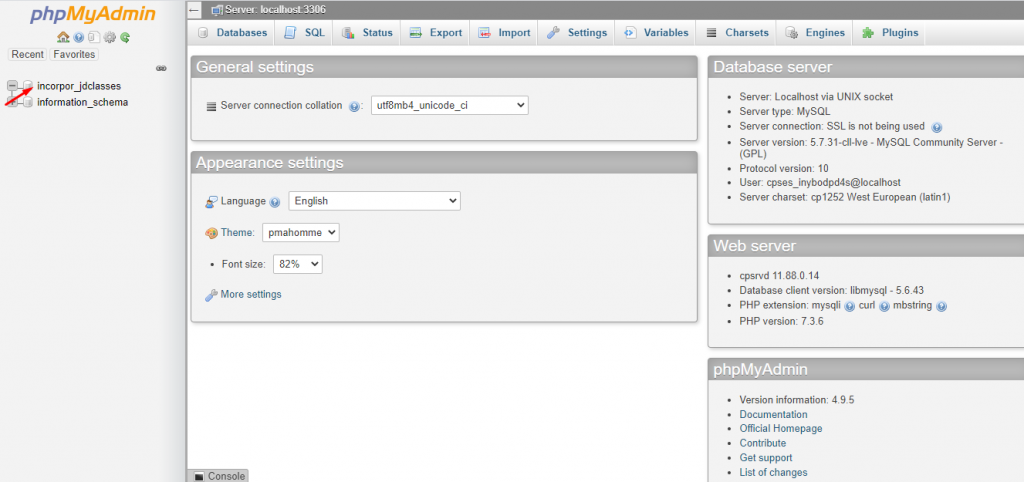
Click on the database name in which under you create a table.After click on the database name you find a page like that.
In create table here we enter the name and click on “GO” button
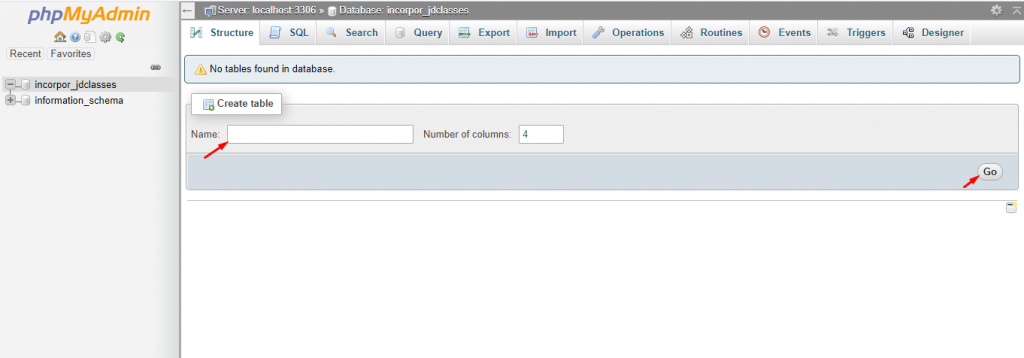
In table has been created successfully in MYSQL browse

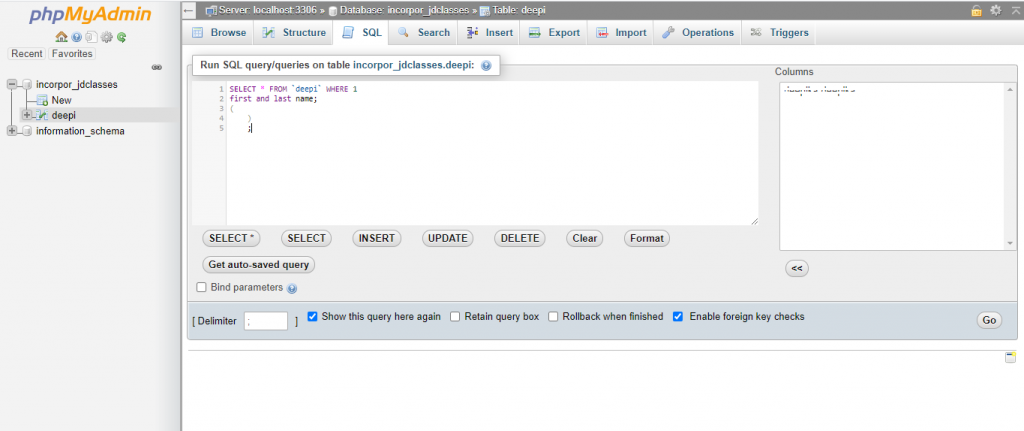
If you want to create a table by writing SQL Query simply click on the SQL button on the page and write your query and click on the go button.
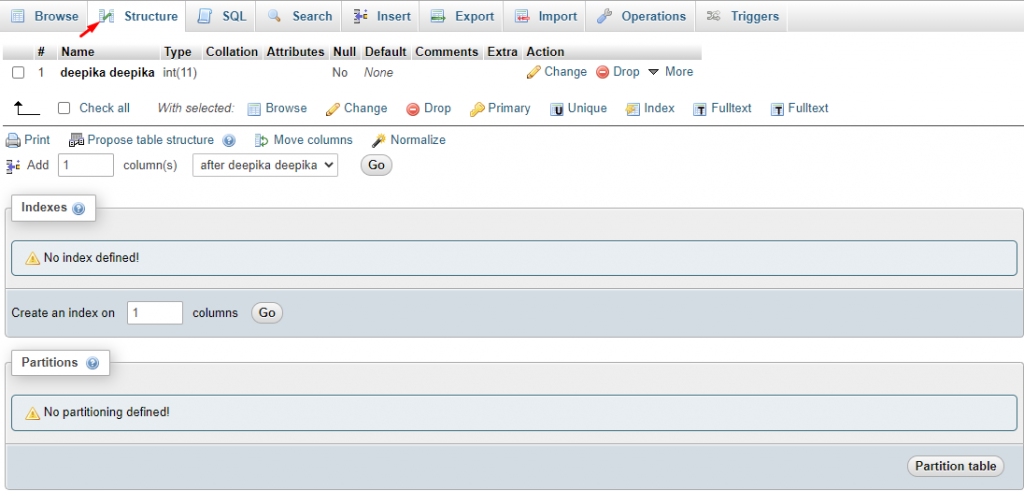
In database structure have our name,type,action and Information etc..
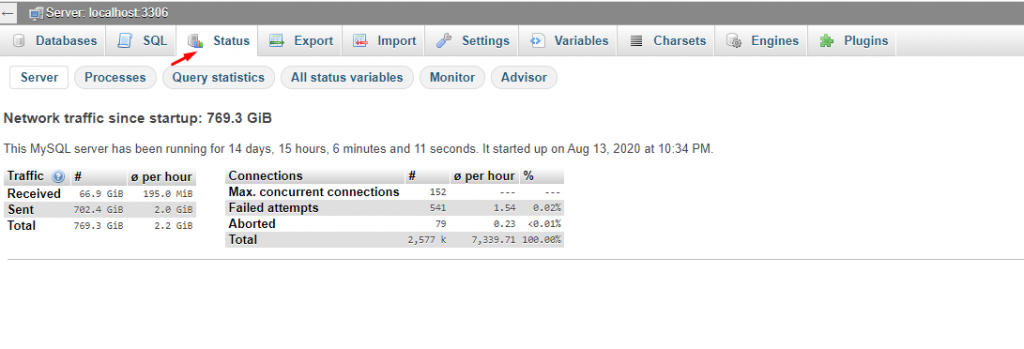
PhpMyAdmin enables you to check the status of your MySQL server. To do this, jump to the Status tab in phpMyAdmin without selecting a specific database
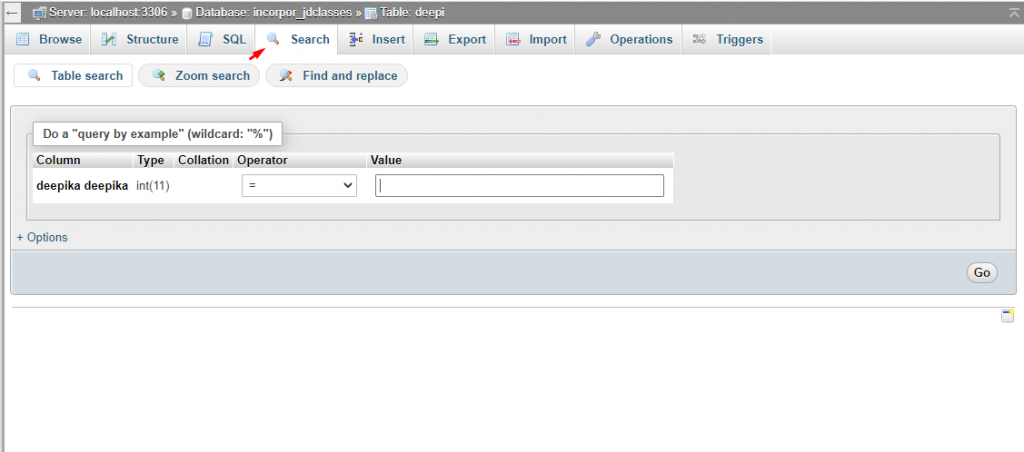
In search menu have table search , Zoom search , find and replace these all having
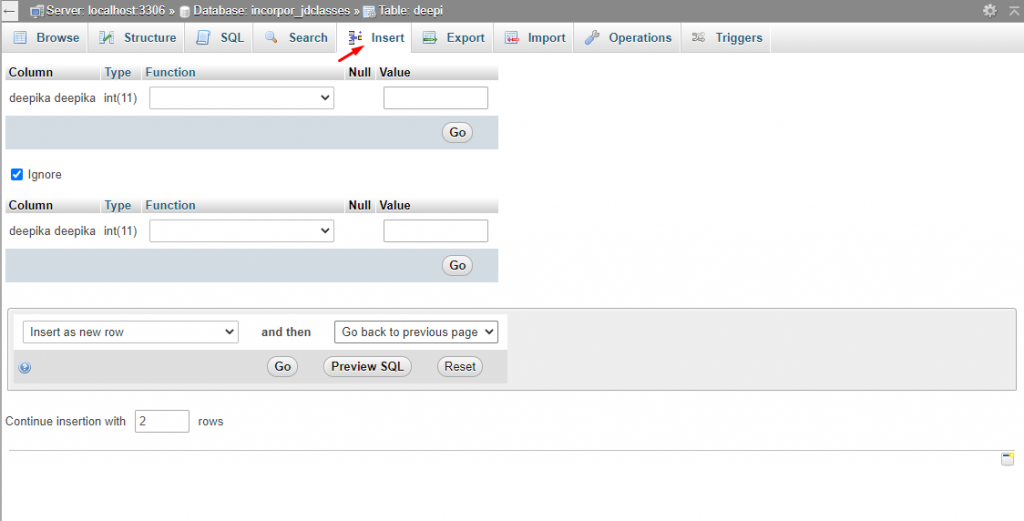
In phpMyAdmin Insert here have the column , type and select their function and click on the ”Go” button
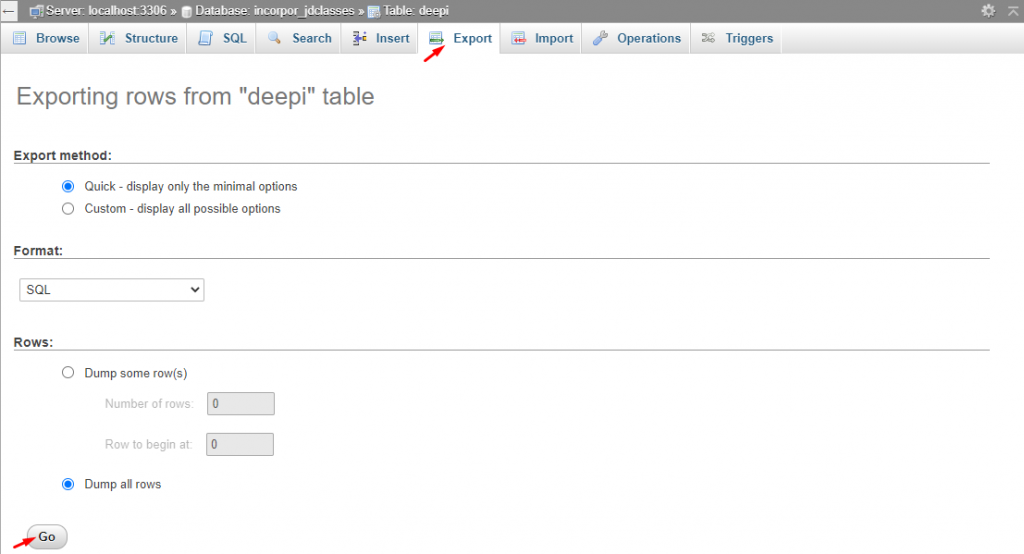
In phpmyadmin export ,here we select the format and export our databases quickly and click the ‘GO’ button
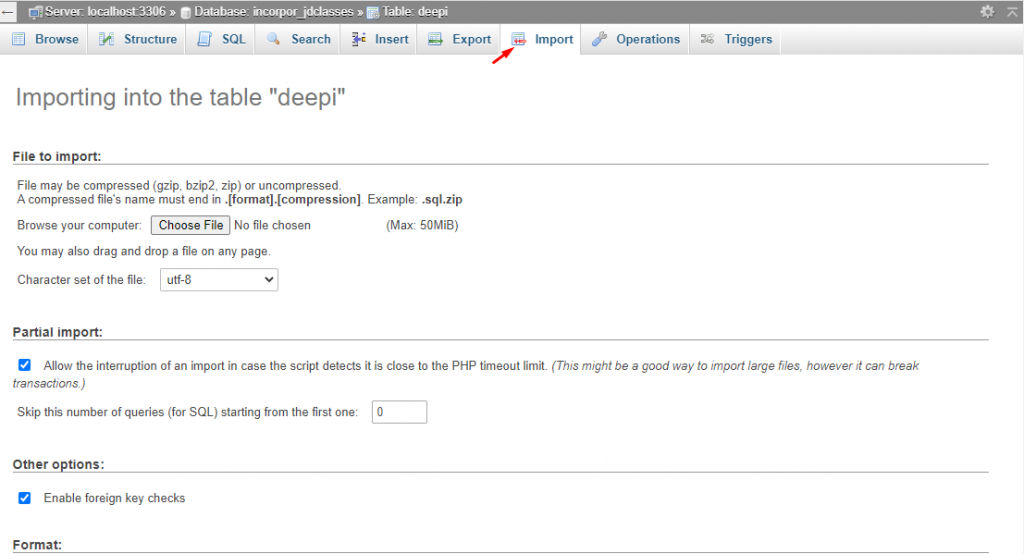
In phpMyAdmin import choose any one file and select the format Next click on “GO” button
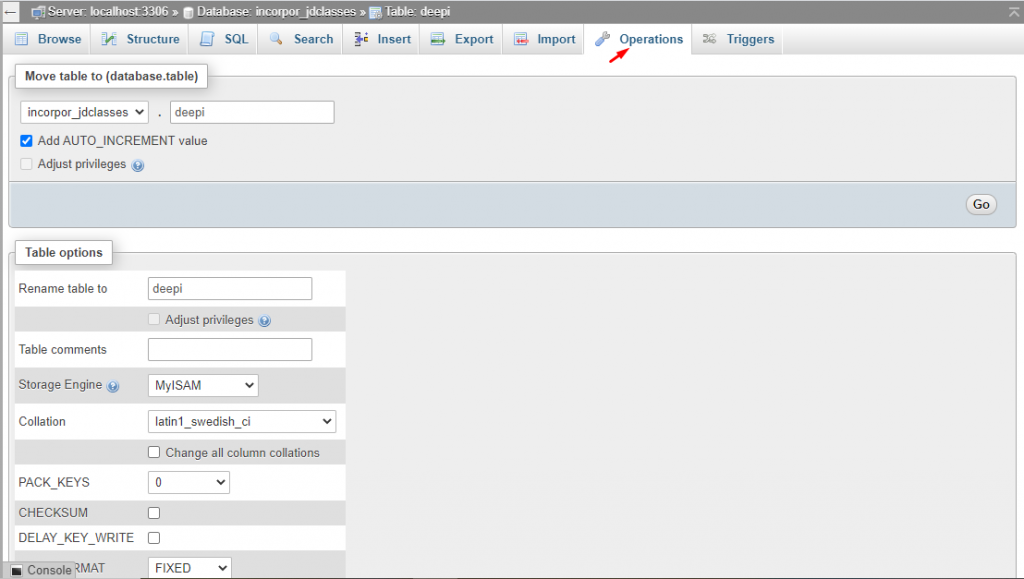
In operations here we Adjust & copy our database table maintenance, delete data here have all options
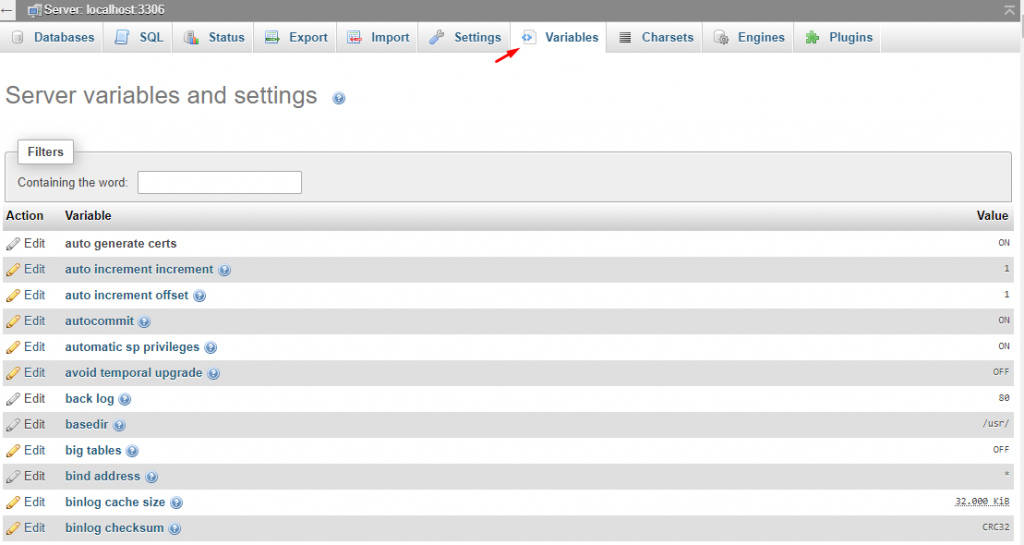
In phpMyAdmin ,variables here we Server variables and settings variables
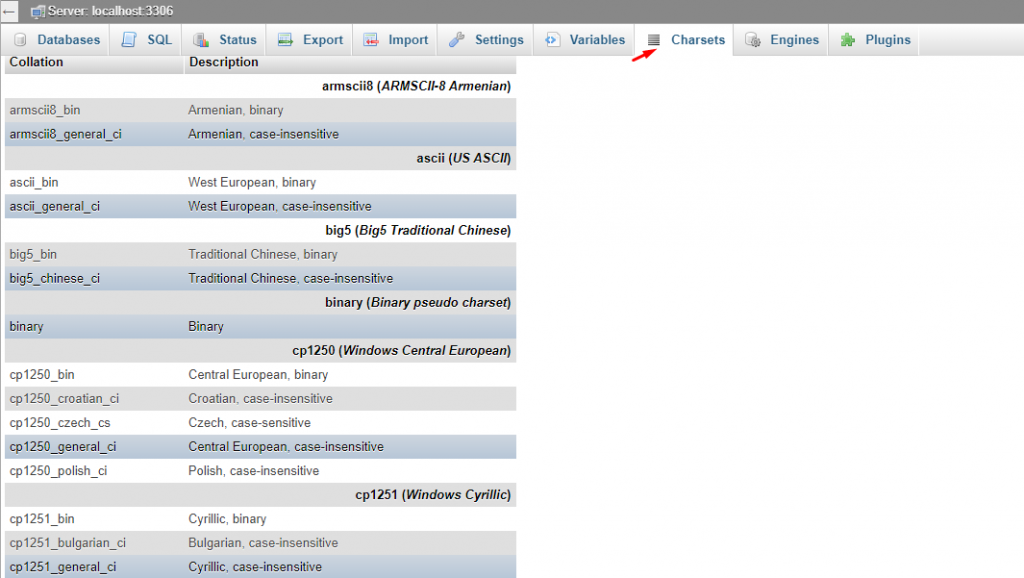
In charsets ,here we sets Character and collations
